Acts Activities & Crafts (Lesson #3)
Memory Verse: Acts 1:8 …you shall be My witnesses… unto the uttermost part of the earth.
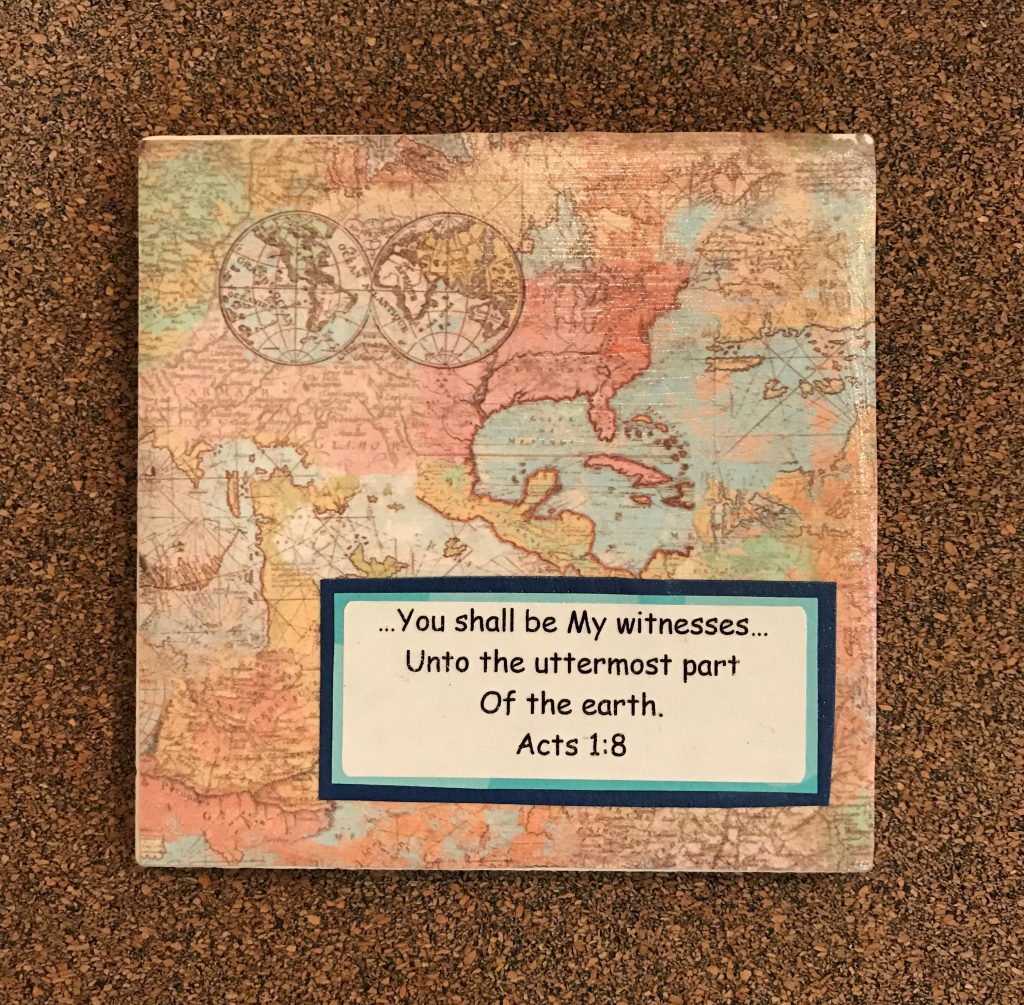
Younger Children – Map Coasters
Click for Amazon Craft Supply List
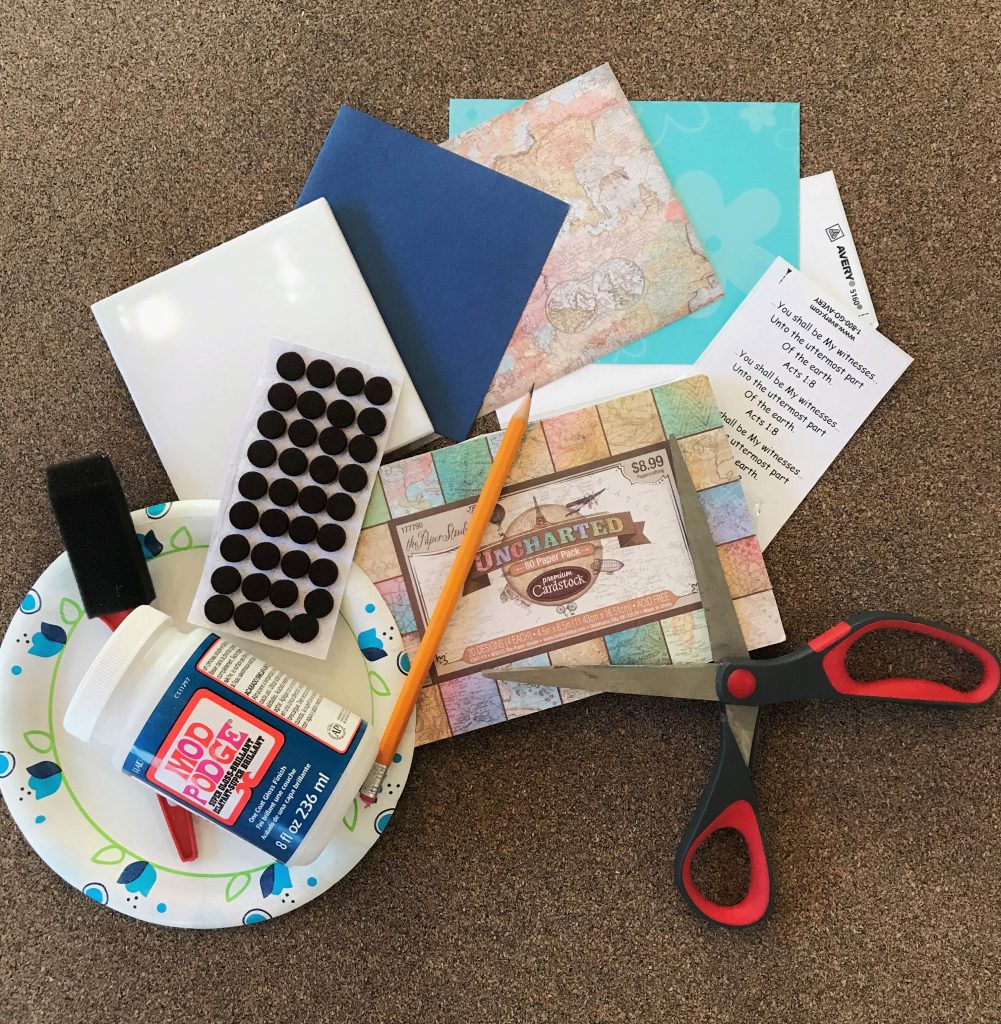
Materials needed:
- Memory verse printed onto mailing labels (we used Avery 5160)
- 4”x4” ceramic tiles (Home Depot sells a case of 80, $0.16 per tile)
- Assorted maps or map paper (we used map cardstock from Hobby Lobby and various maps from AAA)
- Colored paper or cardstock cut into 1.5”x3”
- Small self-stick adhesive felt pads (like those for furniture)
- Scissors
- Pencil or Marker
- Modge Podge (glossy finish)
- Craft sponge brush (Hobby Lobby sells a huge bag of these)
- Small paper plate or bowl
Instructions:
- Give each child a Memory Verse label and cardstock. Stick the memory verse onto cardstock.
- Give each child a ceramic tile and 4 felt adhesives. Stick a felt piece on each of the 4 corners on the bottom side of tile to protect furniture. Write their name on the bottom of the tile.
- Choose map paper. Placing ceramic tile on top of map paper, carefully trace the 4 sides of the tile with a pencil or marker. Cut out the traced area and lay it onto the tile to ensure it will fit. Trim any edges which hang over the side of the tile.
- Pour a palm sized amount of Modge Podge onto a small plate, having 2-3 children share a plate. Using a clean sponge brush, spread a THIN layer of Modge Podge onto the ceramic tile.
- Carefully place map paper onto tile. Starting from the middle of the tile, gently smooth out paper so that it lays flat onto the tile, without wrinkles or bubbles. Spread a thin layer of Modge Podge on the back of the memory verse and stick it onto the tile.
- Brush a THIN layer of Modge Podge over the top of the tile and over the edges of the tile to prevent paper from curling up. Once dry, Modge Podge gives a clear, glossy finish.
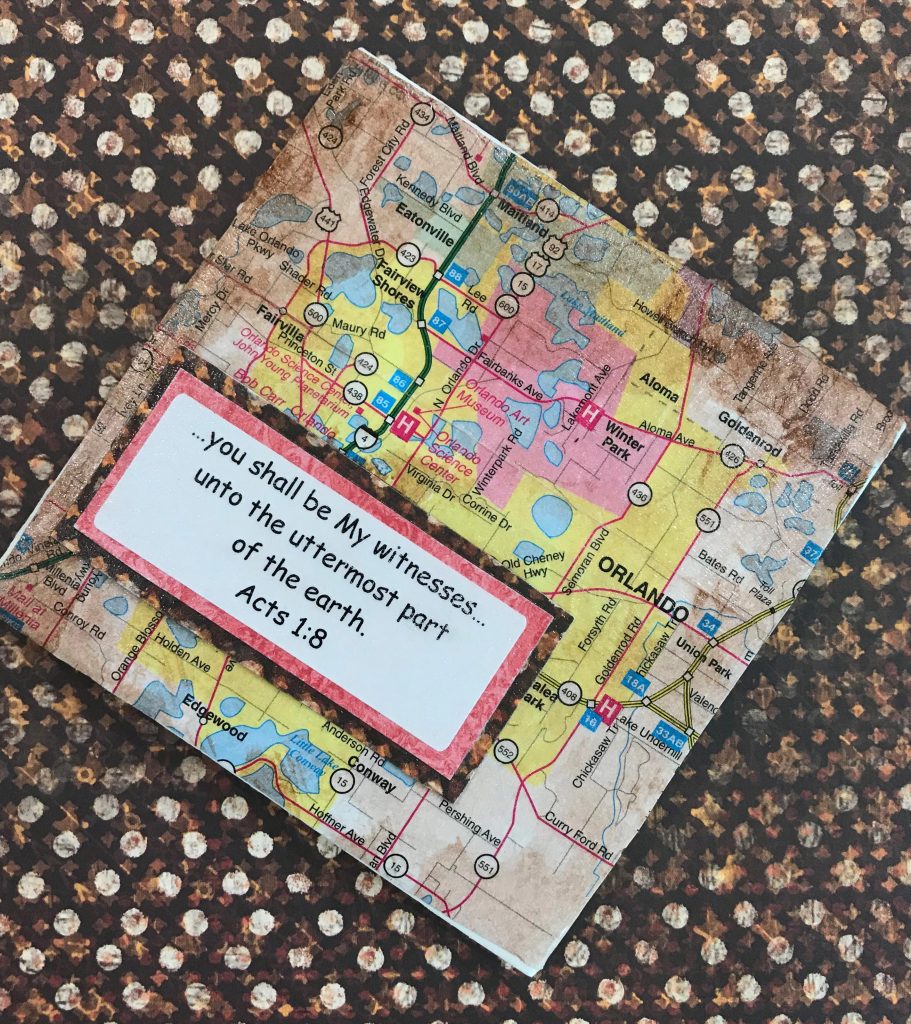
Older Children – Map Coasters, optional antique effect
Click for Amazon Craft Supply List
**If you choose not to antique the paper with paint, follow instructions for Map Coasters YOUNGER Children.
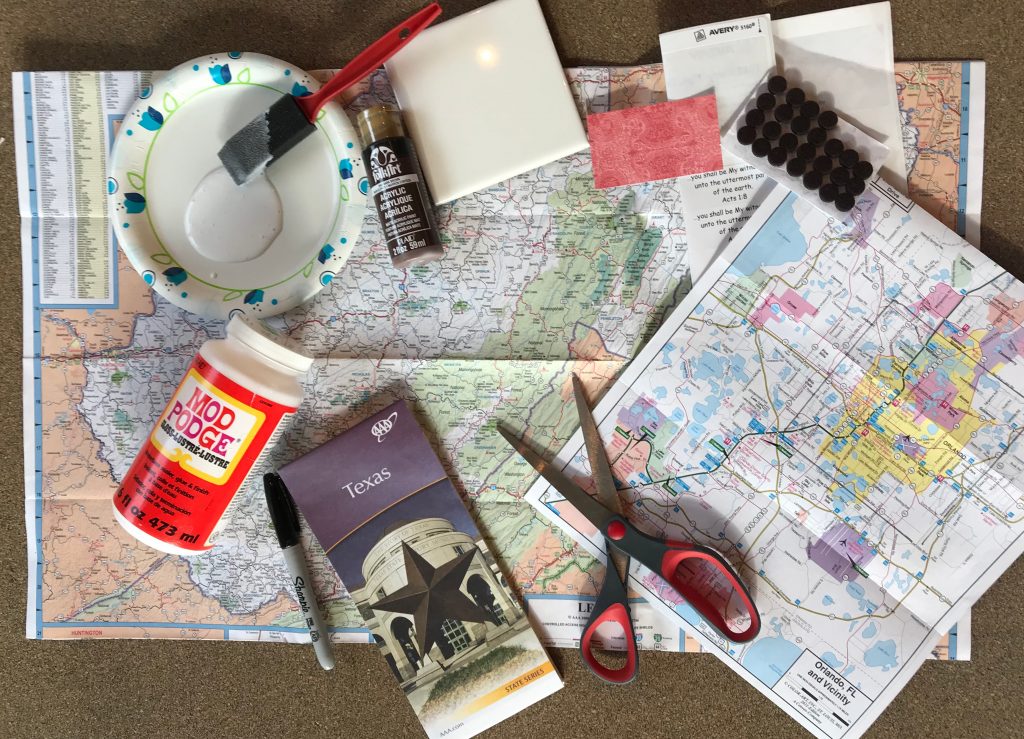
Materials needed:
- Memory verse printed onto mailing labels (we used Avery 5160)
- 4”x4” ceramic tiles (Home Depot sells a case of 80, $0.16 per tile)
- Assorted maps or map paper (we used a large pad of map cardstock from Hobby Lobby and various maps from AAA)
- Colored paper or cardstock cut into 1.5”x3”
- Small self-stick adhesive felt pads (like those for furniture)
- Scissors
- Pencil or Marker
- Brown acrylic paint
- Water
- Paper towels
- Modge Podge (glossy finish)
- Craft sponge brush (Hobby Lobby sells a huge bag of these)
- Small paper plate or bowl
Instructions:
- Give each child a Memory Verse label and cardstock. Stick the memory verse onto cardstock.
- Give each child a ceramic tile and 4 felt adhesives. Stick a felt piece on each of the 4 corners on the bottom side of tile to protect furniture. Write their name on the bottom of the tile.
- Have children choose an interesting map to glue onto their tiles.
- Placing the ceramic tile on top of their map, carefully trace the 4 sides of the tile with a pencil or marker.
- To antique the map paper, pour a little brown acrylic paint onto a paper plate. Add a little bit of water to the paint, mixing it with a sponge brush. Dab some of the water/paint mixture onto the map paper, inside the area traced. Do not oversaturate the map paper or it will tear. Add some darker patches of brown to the edges of the traced area. Blot excess water with a paper towel. LET IT DRY. Discard plates of paint and used sponge brushes.
- Once paper is dry, use scissors to cut out the traced area and lay it onto the tile to ensure it will fit. Trim excess paper if necessary.
- Pour a bit of Modge Podge onto a small plate, having 2 children share a plate. Using a clean sponge brush, spread a THIN layer of Modge Podge onto the ceramic tile.
- Carefully place antiqued map paper onto the tile, making sure paper does not hang over the edge of the tile. Starting from the middle of the tile, gently rub the paper so that it lays flat onto the tile, smoothing out any wrinkles or bubbles. Spread a thin layer of Modge Podge on the back of the memory verse and stick it onto the tile.
- Brush a THIN layer of Modge Podge over the top of the tile and over the edges of the tile to prevent paper from curling up. Once dry, Modge Podge gives a clear, glossy finish.


