The Bible – Craft (Lesson #3)

The Bible - Activities & Crafts (Lesson #3)

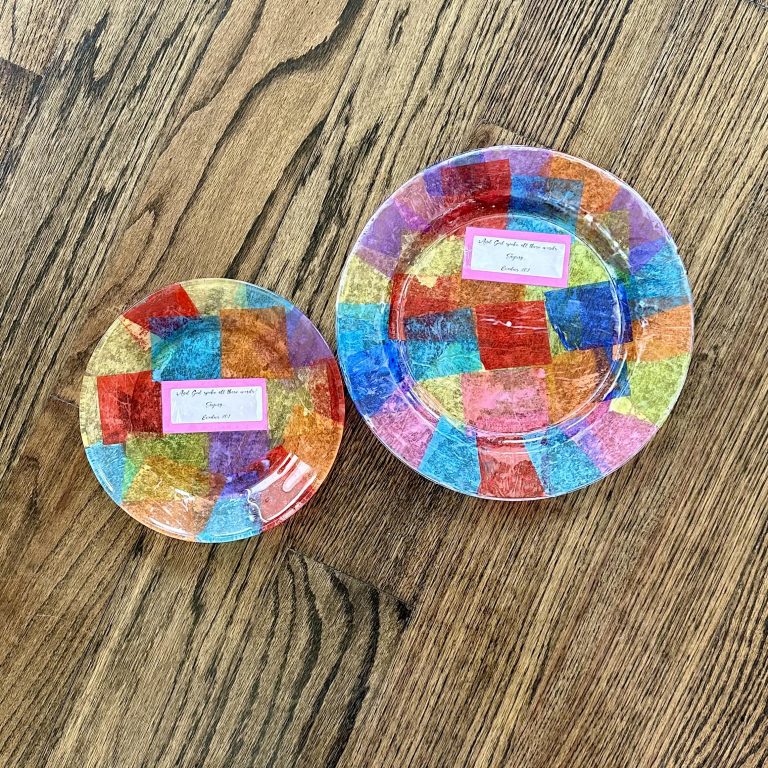
Memory Verse: Exodus 20:1- And God spoke all these words saying…

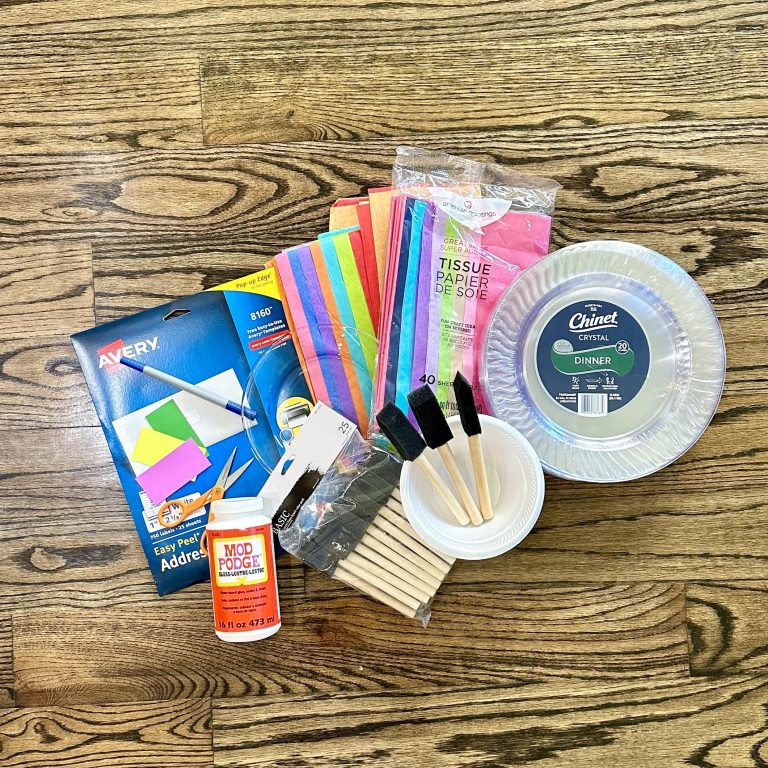
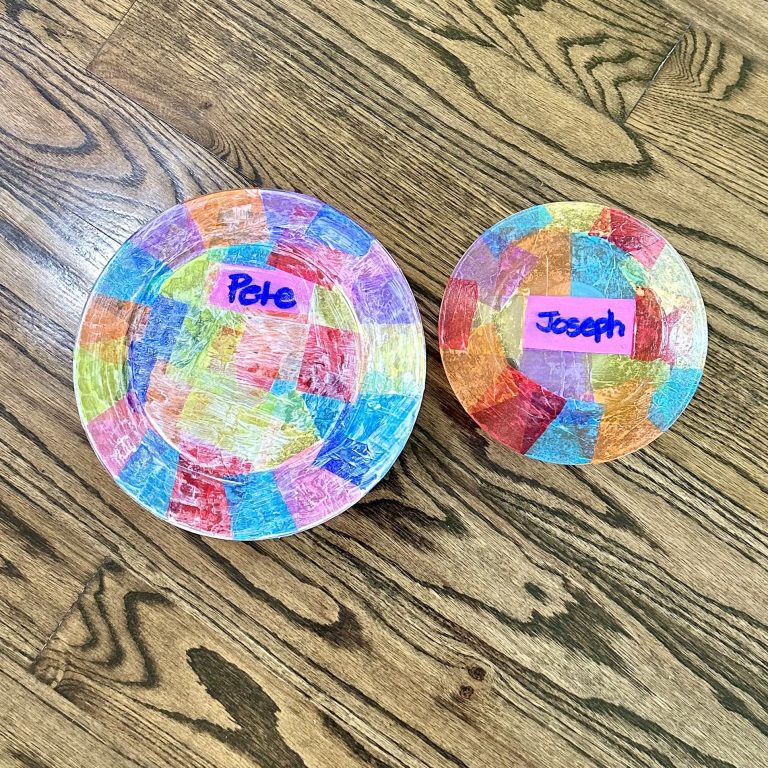
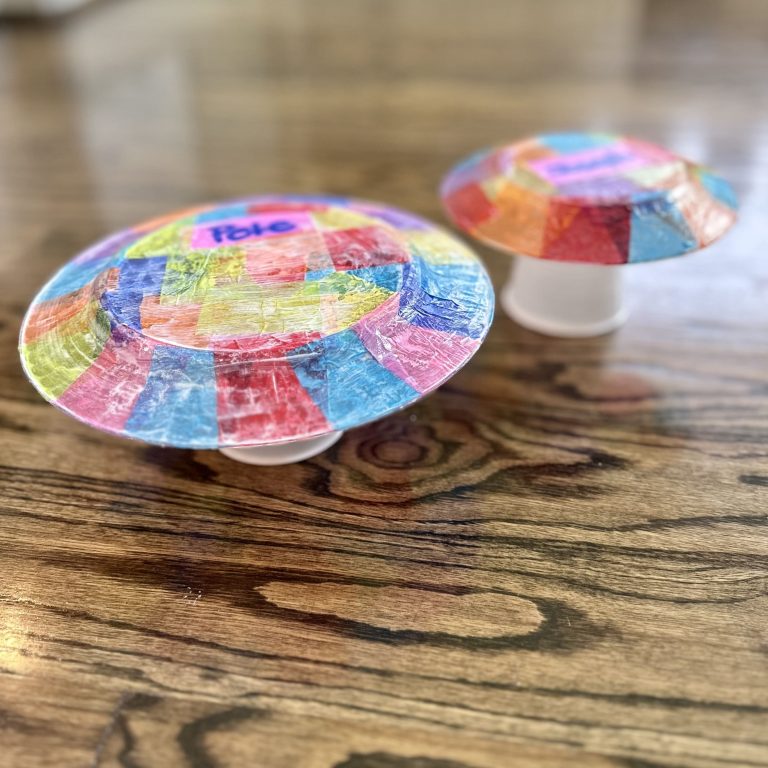
Younger & Older Children – Decoupaged Plates 
*ATTENTION: SOME PREPARATION NEEDED PRIOR TO CONFERENCE SESSION
** BEGIN THIS CRAFT AS SOON AS MOST CHILDREN HAVE ARRIVED, SINCE EXTRA TIME IS NEEDED FOR THE GLUE TO DRY

Materials needed:

  • One clear glass 8”-10” plate per child (order from Dollartree.com or Amazon), remove labels with warm soapy water (YOUNGER CHILDREN can use clear plastic plates)
  • Memory Verse printed onto Avery 5160 or 8160 Mailing Labels. Do prior to session*
  • Assorted cardstock cut to 1 ½” x 3 ½”. Helpful if cut prior to session*
  • A LOT of colorful gift tissue paper cut into 2”-3” squares, FOR YOUNGER CHILDREN (GRADES K-2), it is helpful to pre-cut these
  • Mod Podge matte or high gloss glue
  • Craft sponge brushes (We found bulk packages at Hobby Lobby or Amazon)
  • Small styrofoam bowls to hold Mod Podge
  • Scissors
  • Pencil or pen
  • Paper or plastic cup

Instructions:

  • Hand each child a rectangle piece of cardstock, a Memory Verse label, and a pencil or pen.
  • Have them affix the Memory Verse centered onto one of the cardstock pieces. Write their names on the back.
  • Give each child a plastic or glass plate.
  • Let the children choose pieces of colored tissue paper – enough to cover their plate.
  • Hand out a styrofoam plate, craft sponge brush, pour a palm-sized amount of Mod Podge onto their plate. Share one plate of glue & sponge brush set among 2-3 children.
  • Spread a THIN layer of Mod Podge to the BACK of the plate. Keep the front of the plate clean for food.
  • Carefully place the FRONT of their Memory Verse onto the back of the plate, with the printed side down so that the Memory Verse is visible on the front of the plate.
  • Spread another THIN layer of Mod Podge onto the back of the plate.
  • Glue pieces of tissue paper to the back of the plate, avoid covering their names. Cut or tear excess tissue paper. Gently tap paper onto the plate. Do not brush, as it tends to tear the paper. Layer the tissue paper to cover the back of the plate. You may need to refill plates of glue but remind them not to use too much glue or the craft won’t dry in time. 
  • Making sure no excess tissue paper hangs off the back of the plate, apply another THIN layer of glue over the entire back of the plate, sealing the edges of the plate.
  • Invert a paper cup and place the plate on top to allow the glue to dry before turning the plate over. Glue will dry clear.